1. Remove sensors
Make sure you remove the sensors in your GroSens or WCM system from the slabs a couple of days before the growing season ends. If you have entered the coordinates in the GroSens menu, you can look in the menu to retrieve the precise location of the sensors in the slabs.
2. Remove or protect receiver
Because the greenhouse will be cleaned using high pressure spray, we advise you to remove the receiver suspended at the top of the greenhouse that communicates with the sensors, or protect it from excess water. Use a plastic bag to protect the connector of the UTP cable against water ingress and corrosion. Retrieve the coordinates of the receiver in the greenhouse (if they were entered) in the GroSens menu on your PC by clicking the serial number of the Converter (Gateway).
3. Clean the sensors and receiver
The sensor and receiver housings are splash-proof. They can be wiped clean with a damp - but not a wet - cloth and then disinfected using a solution that contains 70% alcohol. After being used for one season, the batteries in the sensor will still have at least 50% battery capacity. However, replace the batteries (4 x AA per sensor; non-rechargeable) before the sensors are inserted in the slabs in the new growing season. Batteries will not last for two growing seasons and replacing the batteries halfway through a season is a nuisance.
4. Reinstalling the sensors and receiver
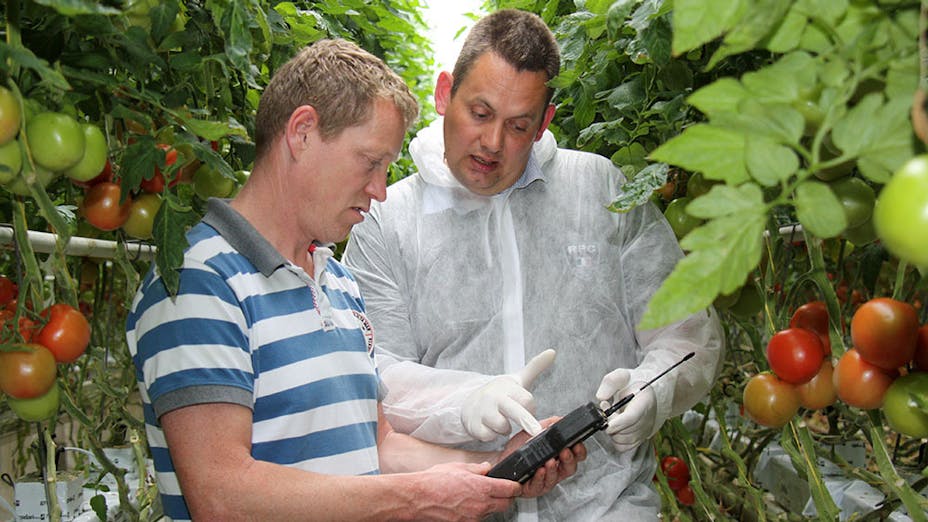
When the receiver is reinstalled in the greenhouse, a direct connection to the internet will usually not be made. Press the Factory Restore button for 10 seconds. This is a silver ‘bump’ in the centre of the printed circuit board. The two lamps, Power and Link, will flash x 3 and restore the internet connection. Register the sensor in the system by pressing the ‘Test’ button on the sensor. When registering the sensors, use the GroSens HandHeld so you can see the measurement values straight away and the coordinates of the new positions of the sensors in the greenhouse. Enter these coordinates in the menu. You can also hang up red and white tapes to mark the positions of the sensors.
5. Monitor substrate values in blocks
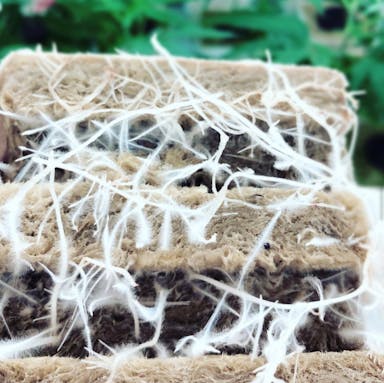
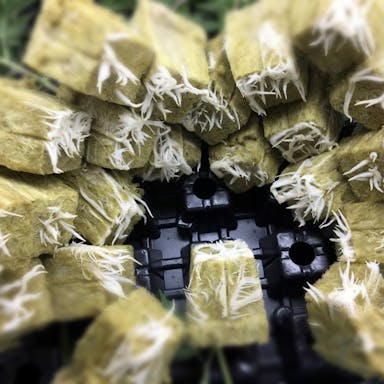
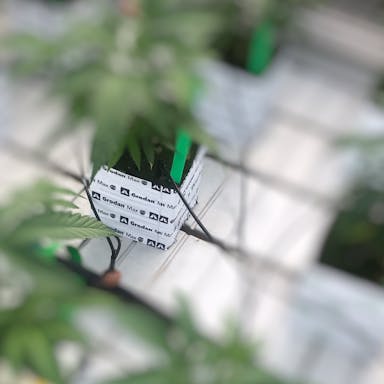
The water content, EC and temperature of the blocks can be monitored using one or more sensors positioned next to the planting hole in the control phase, or immediately after planting in the rooting phase. To do so, unscrew the stainless steel plate on the sensor. Insert the sensor so that the pins are surrounded by stone wool and are not visible in the grooves under the block or through the planting hole. With a block measuring 10 x15 cm the best place to insert the sensor is the short side.
6. Adjusting sensor position during rooting phase on 10 cm high slabs
In 10 cm high slabs, the GroSens Sensor measures relatively more in the lower part of the slab, so the water content here will only start to drop when the roots start absorbing water from this part of the slab. By unscrewing the stainless steel plate from one or more sensors and repositioning it at 7.5 cm instead of 10 cm, the sensor can be inserted higher in the slab than the standard position. This will give a more complete picture of the status of the substrate, particularly during the rooting phase and the speed at which the water content decreases in the upper and lower layers of the slab.
7. Checking uniformity of data measurement
Use your GroSens Handheld or your old WCM to regularly measure a representative number of slabs in various irrigation sections of the greenhouse, particularly during the control phase of growth. This will give you a reliable picture of the status of the substrate and uniformity between the various irrigation sections.
Find a short guide to using the GroSens HandHeld at
